
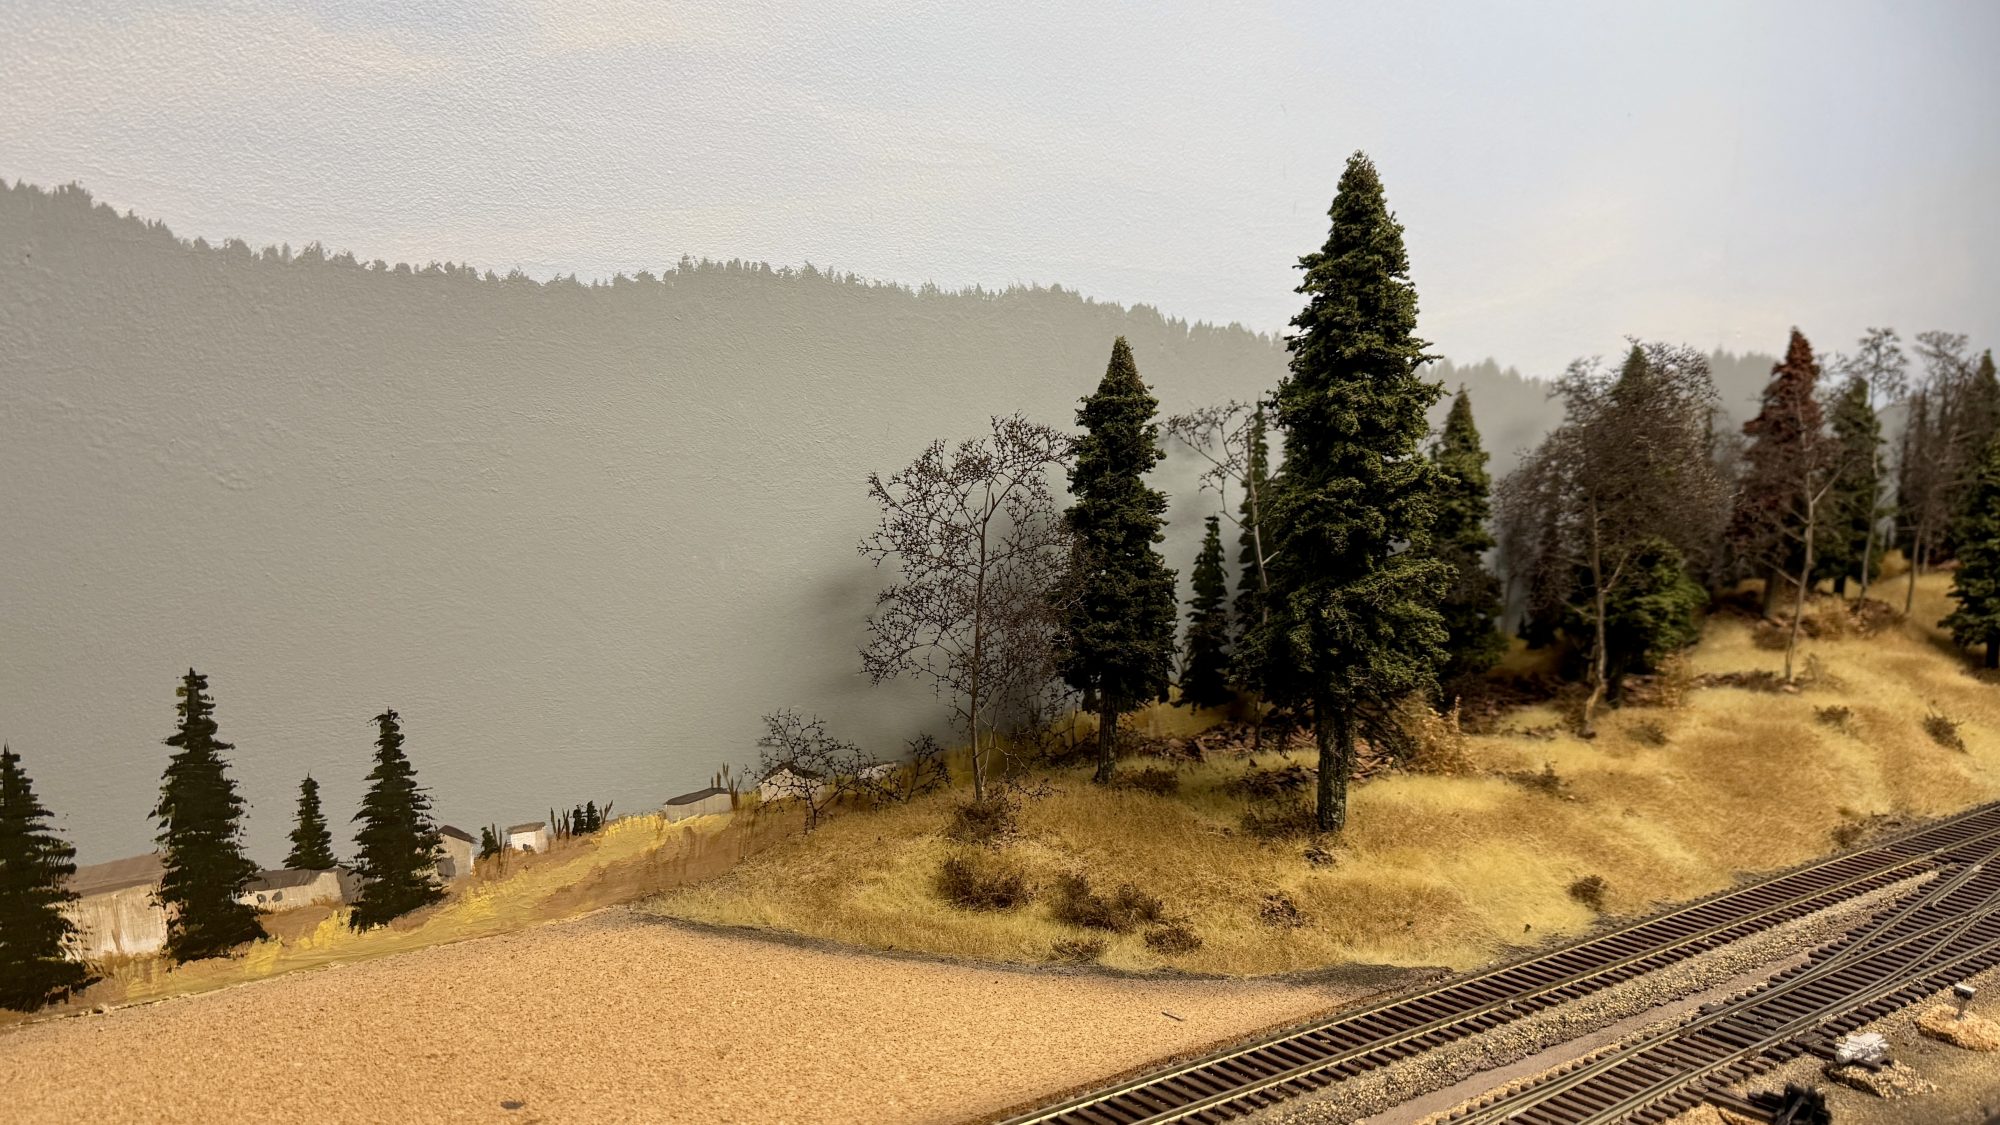
Whether we’d like to admit it or not, a backdrop can make or break a model railroad. We’ve all seen examples of fantastic modeling that was let down by a backdrop filled with puff ball clouds against a neon blue sky. On the opposite side of the coin though, a “Plywood Pacific” with a nice coat of sky blue in the back of the layout can instantly add realisim and depth to an otherwise incomplete scene.
I’m a big advocate for adding a backdrop as early as possible in the layout building process. Even something as simple as a coat of sky blue can dramatically improve the overall appearance of a layout, giving it a more finished, polished look. That added sense of realism can inspire you as a modeler while making a great first impression on anyone who steps into your layout room.
Paint vs Photography
There is a bit of a debate online about painted vs photographic background techniques and which looks “better’ or “more realistic”. We can probably thank Mike Confalone for popularizing the photographic technique as he has undoubtly utilized it to create perhaps the most realistic backdrops in the hobby.
However, I’ve found that photographic backdrops require a lot of elements to come together for them to be truly effective. The modeling in the foreground needs to be highly realistic, or there’s a risk that the models will look simple or “toy-like” compared to the photographic scenery behind them. Imagine a line of puffball trees in front of a photographic panorama of the Appalachian Mountains. The contrast in realism can be pretty jarring.
Color matching can also be a challenge. Photographs often have a color temperature that’s too cool or too warm to complement the surrounding scenery. Correcting these differences may require photo-editing software, which can be tricky to work with. Printing introduces another variable, as colors and contrast can shift in the final output. Fixing these issues may require expensive reprints and given the large format needed for a model railroad backdrop, those costs can add up quickly.
For these reasons, I prefer painted backdrops. A well-executed painted backdrop can extend a scene without distracting from the modeling in the foreground. It’s also easier to match the background colors to the surrounding scenery, and the process is generally quicker and less expensive than producing a photographic backdrop.
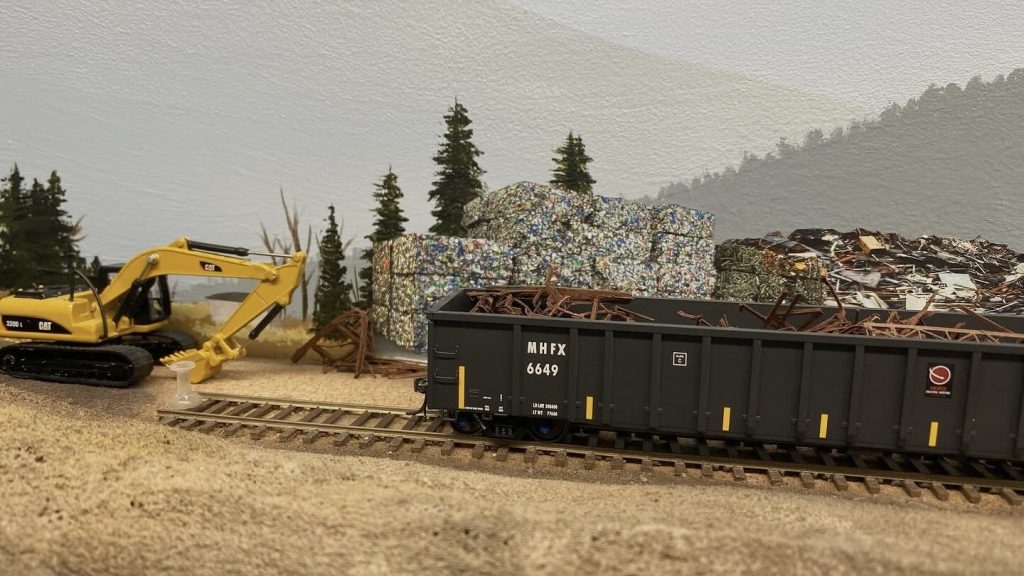
That’s not to say that I don’t use photographs on my backdrops at all. Infact, I find them highly effective for certain elements that can be difficult to recreate with a paintbrush such as this (admittedly unfinished) scrapyard scene below.
Painting a Backdrop is Simple
I’ve created two videos (see below) demonstrating my technique for painting a simple yet effective backdrop. If you’re considering painting your own, I encourage you to check them out. The techniques are easy to follow, and the results can make a big difference in the overall look of your layout.
For ease of reference, here is a list of the paints used:
Sky and Distant Mountains:
Sky – “Perfectly Blue” flat latex paint by Valspar (found at Lowes)
Distant Mountains – “Arctic Sunrise” flat latex paint by Valspar
Closer Mountains – “Cottage Door” flat latex paint by Valspar
Clouds – “Titanium White” Liquitex Basics Acrylic Paint
Trees and Forground Elements:
A variety of colors found in the Liquitex Basics line of paints including Titanium White, Mars Black, Yellow, Neutral Grey, Raw Sienna, Raw Umber, and Red.